Thinkpad Update BIOS on Linux
Let's upgrade our BIOS. The main reason I did this is because the T480s and even X1 series have a serious problem with the USB-C Charging and Thunderbolt ports over time, as in they stop working! This should fix it.
If you are locked out of your BIOS with a password on your Thinkpad you cannot update your BIOS. If you are using a Thinkpad series somewhere at or above version T460+/T560+ and above you can no longer reset your BIOS by disconnecting your CMOS battery.
The Thinkpad BIOS gets hard coded into a physical EEPROM chip on the motherboard and no longer requires the CMOS battery to remember information. So with newer models if it's locked you need to attempt a default blank password, a password with a " " space only, and hope you get lucky. I had my T480s locked and had to get a new motherboard - Sometimes it's cheaper to just buy the laptop used than a new motherboard!
I'll be doing these steps in a Thinkpad T480s using Ubuntu 22.04.1 LTS.
Firmware Upgrade
First, get your computer Serial Number so we can find the exact firmware. You may have a t480s like I do, but you may have a different iteration such as a 30-pin LCD versus a 40-pin LCD motherboard so you want to make sure you get the right firmware. (And don't worry, if you get the wrong firmware the software won't run.)
Copy the results to your clipboard (You'll use this for the Driver Lookup on Lenovo):
sudo dmidecode -s system-serial-number
Additionally, check the version of your BIOS and Firmware with this:
sudo dmidecode -t bios
This is my output; my last update was from 2019 when this laptop came out so it was never updated. You can see if there is a new release once you look up the latest release in the next step.
BIOS Information:
...
  Vendor: LENOVO
  Version: N22ET59W (1.36 )
  Release Date: 10/18/2019    # <--- OLD
  ...
    ...
  BIOS Revision: 1.36         # <--- OLD
Download ISO
For Thinkpad T-Series visit: https://pcsupport.lenovo.com/us/en/products/laptops-and-netbooks/thinkpad-t-series-laptops/thinkpad-t420i/downloads/driver-list/
Paste the serial number from the dmidecode -s system-serial-number above to get a list of downloads.
If you download the wrong ISO and attempt to install the firmware you will get an error saying that the program could not be found.
In the menu select "Bios / EUFI" and expand the BIOS Update dropdown. You want to download BIOS Update (Bootable CD) which would be around ~30MB in size.
In my case, there is a release from August 25th, 2022 which tells me I need to update when comparing to my BIOS output above.
Convert ISO to IMG
Convert the downloaded bootable ISO (*.iso) to an image (*.img) file using geteltorito. This program is on Ubuntu by default. Run the following replacing your downloaded iso name:
# The Format is like this:
# geteltorito -o <output.img> <downloaded.iso>
# Note: You can call the output file 'boot.img` anything you want.
geteltorito -o boot.img n22ur31w.iso
This should return an output similar to the following:
Booting catalog starts at sector: 20
Manufacturer of CD: NERO BURNING ROM VER 12
Image architecture: x86
Boot media type is: harddisk
El Torito image starts at sector 27 and has 67584 sector(s) of 512 Bytes

Image has been written to file "boot.img".
Run ls in your folder and you now have your boot.img.
Find your USB Device
Insert a USB drive, it doesn't need to be large at all. If it's not recognized, first try df -h to list out your drives. If it's not there, type blkid to see if it's in there. It may be hard to identify. We don't want to format the wrong drive so here is a way to ensure you are safe.
- Make sure this USB has nothing you want on it to keep, then proceed to format it.
- Open
gparted(The GUI) and select the USB drive from the top right drop down. - Delete all partitions on the USB drive, click the green check to process it.
- Right click and Format the entire USB empty space to the defaults, only give it a LABEL of something like boot-my-firmware so we can identify it. Click the green check to process it.
- Lastly, run
blkidand you'll see clearly it's found by the label.
In my case, it's plain as day because of the custom label I gave it.
/dev/sda1: LABEL="boot-my-firmware" UUID="2e2bf445-6daf-4534-9afb-42f8a51cc5ec" BLOCK_SIZE="4096" TYPE="ext4" PARTUUID="1e7d1700-01"
Note: The first line is the path we want to burn to (the full USB). In my case it's /dev/sda1, yours might be /dev/sda2 or /dev/sda3 depending on your setup. The reason I don't have /dev/sda1 as my default which is the normal case for me is because I'm using an NVME drive that uses names like /dev/nvme0n1.
Burn to USB
Again, ensure you have the correct device you are going to burn to by running both df -h, the -h makes the size human readable (So the size matches closely to your USB). And again, run blkid and ensure the one we gave a LABEL matches the previous output path. Mine are both /dev/sda1.
This will burn the image to your flash drive. To know what this is actually doing it's dd which converts and copies a file. The if parameter is the in file to read from (Instead of STDIN), the of parameter is the out file -- instead of (STDOUT).
sudo dd if=boot.img of=/dev/sda bs=64K
You should receive an output similar to this if all went well.
528+0 records in
528+0 records out
34603008 bytes (35 MB, 33 MiB) copied, 0.0223749 s, 1.5 GB/s
Reboot and Run
On your Thinkpad, if you do not have USB in the boot order set in BIOS to automatically run USB, or you have a BIOS update protection on, it needs to be turned off to update. To boot one time to USB simply reboot again and press ENTER then F12 and choose your USB parent option.
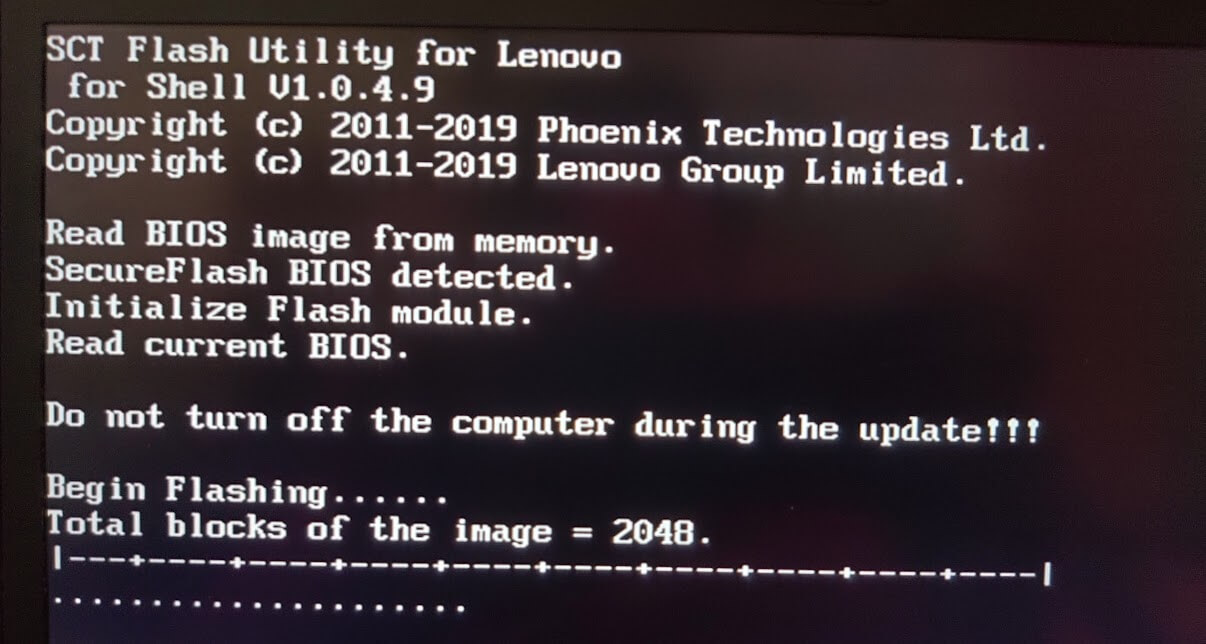
When I updated in the GUI it gave me an
Error 105having to do withwrite. I simply rebooted the computer and it went to the normal BIOS flashing tool with no problems.
|  |
|
Check Updated Settings
You can login to BIOS with ENTER and F1 or you can check in linux your updated values with sudo dmidecode -t bios and check that your versions are upgraded.
BIOS Information:
...
  Vendor: LENOVO
  Version: N22ET74W (1.51 )
  Release Date: 07/21/2022
  ...
    ...
  BIOS Revision: 1.51
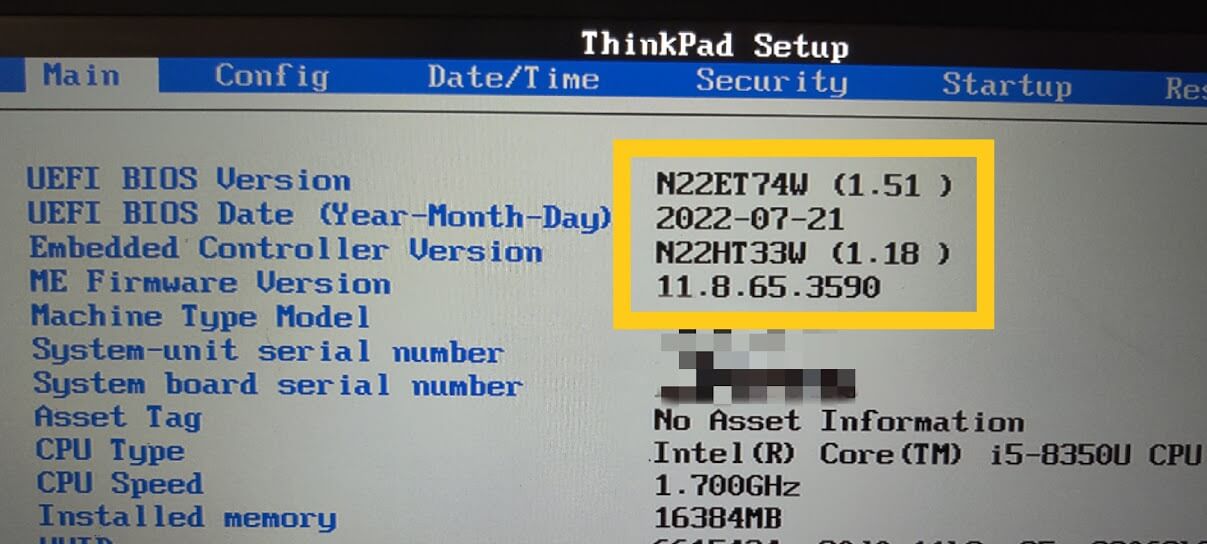
I went from BIOS version 1.36 to 1.51 and Release Date from 10/18/2019 to 07/31/2022. Quite an upgrade!
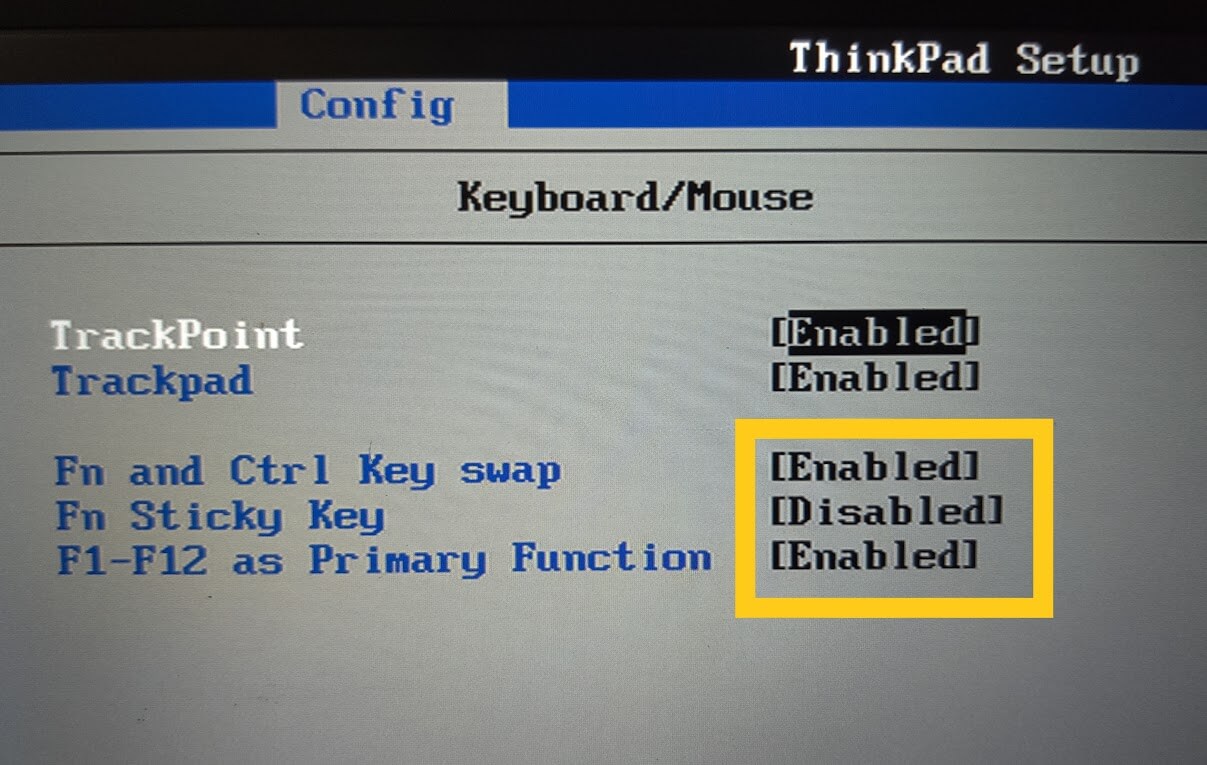
Extra: Normalize your Function/F1 Keys
I do this the first time I get a Thinkpad because it drives me nuts leaving it default. You can make the bottom right Fn key behave as CTRL as if it were placed there like on every single other computer ever made. You can also turn off the Fn Stick Key (Which would be mapped to the 2nd bottom left key "CTRL" now) by setting it to disabled. I find it much easier to just hold Fn (aka CTRL) and press the F-Key rather than LOCK it. Lastly, the F1-F12 keys I use as shortcuts all the time, I don't want them as adjusting random OS options so I enable this as well. And again, I can just hold Fn (aka CTRL) and press and F-Key to accomplish the same thing.
I hope this helped you upgrade your BIOS through Linux. It's not that difficult after you do it once. It's only difficult if you have a locked BIOS!